Check the room before the truck arrives
Start with the actual space where the equipment will stand, not just the kitchen drawing. Measure door widths, passage ways, lift openings and ceiling clearances, then compare them with the packed size and final footprint of each unit. In busy areas like Pretoria Central, Midrand and Randburg, access is often tighter than expected, especially in older buildings with narrow service corridors.
Make sure the route from the loading point to the install area is clear of boxes, crates, gas bottles and cleaning stock. If the unit must go through a public entrance or shared corridor, check with building management first so the delivery team does not lose time at reception or at a security gate.
- Measure doors, lifts and corridors in metres, not guesses.
- Check floor level changes, ramps and tight corners.
- Reserve parking close to the access point if possible.
- Keep the install area free from diners, staff bags and stock.
Make the floor ready for weight, heat and spills
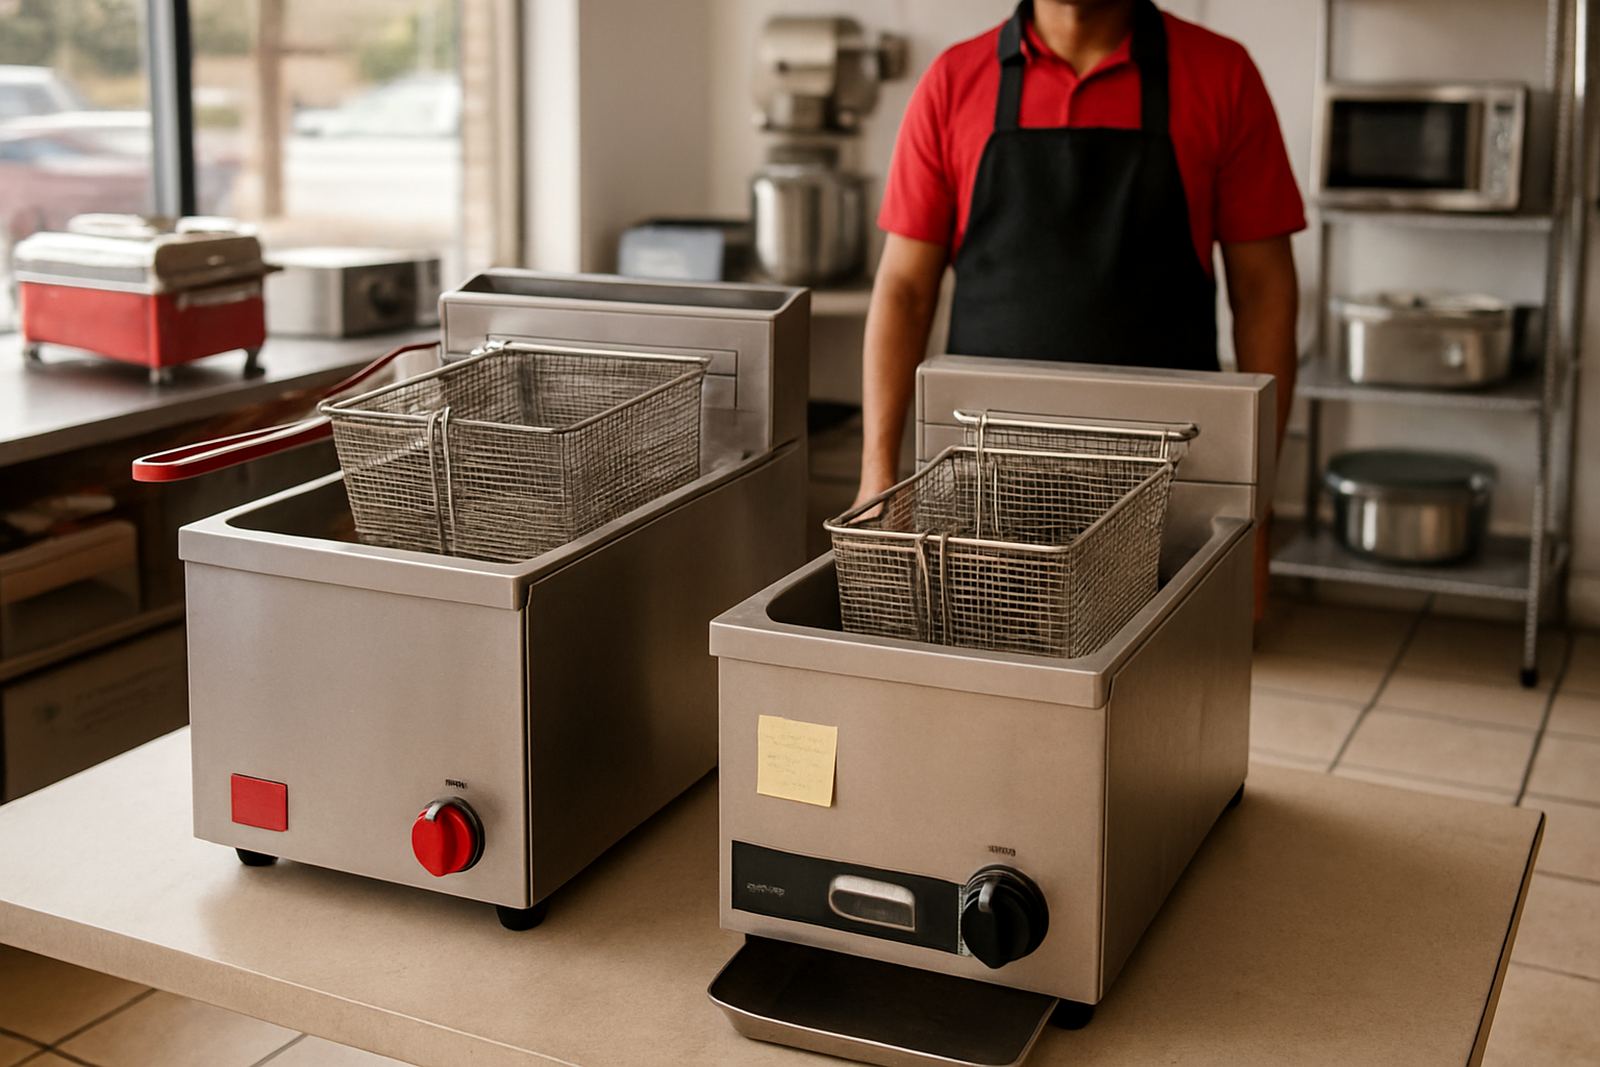
Catering equipment can be heavy once it is filled, loaded or connected. Fryers, mixers and microwaves need stable, level floors so they do not rock or move when used. If your floor is cracked, uneven or slippery, sort that out before the delivery date. A small slope can become a real problem when hot oil, water or cleaning chemicals are involved.
Where equipment will stand near prep or washing areas, check that splash zones are managed. In coastal areas and humid kitchens, steel can mark faster if moisture sits under the unit. Leave enough space around the base for cleaning and for air flow, because dust and grease build up fast in corners.
- Confirm the floor is level and can carry the load.
- Allow space under or around the unit for cleaning access.
- Remove old sealant, loose tiles and broken capping strips.
- Use non-slip mats only where they will not trap dirt or water.
Sort out power, water, gas and drainage early
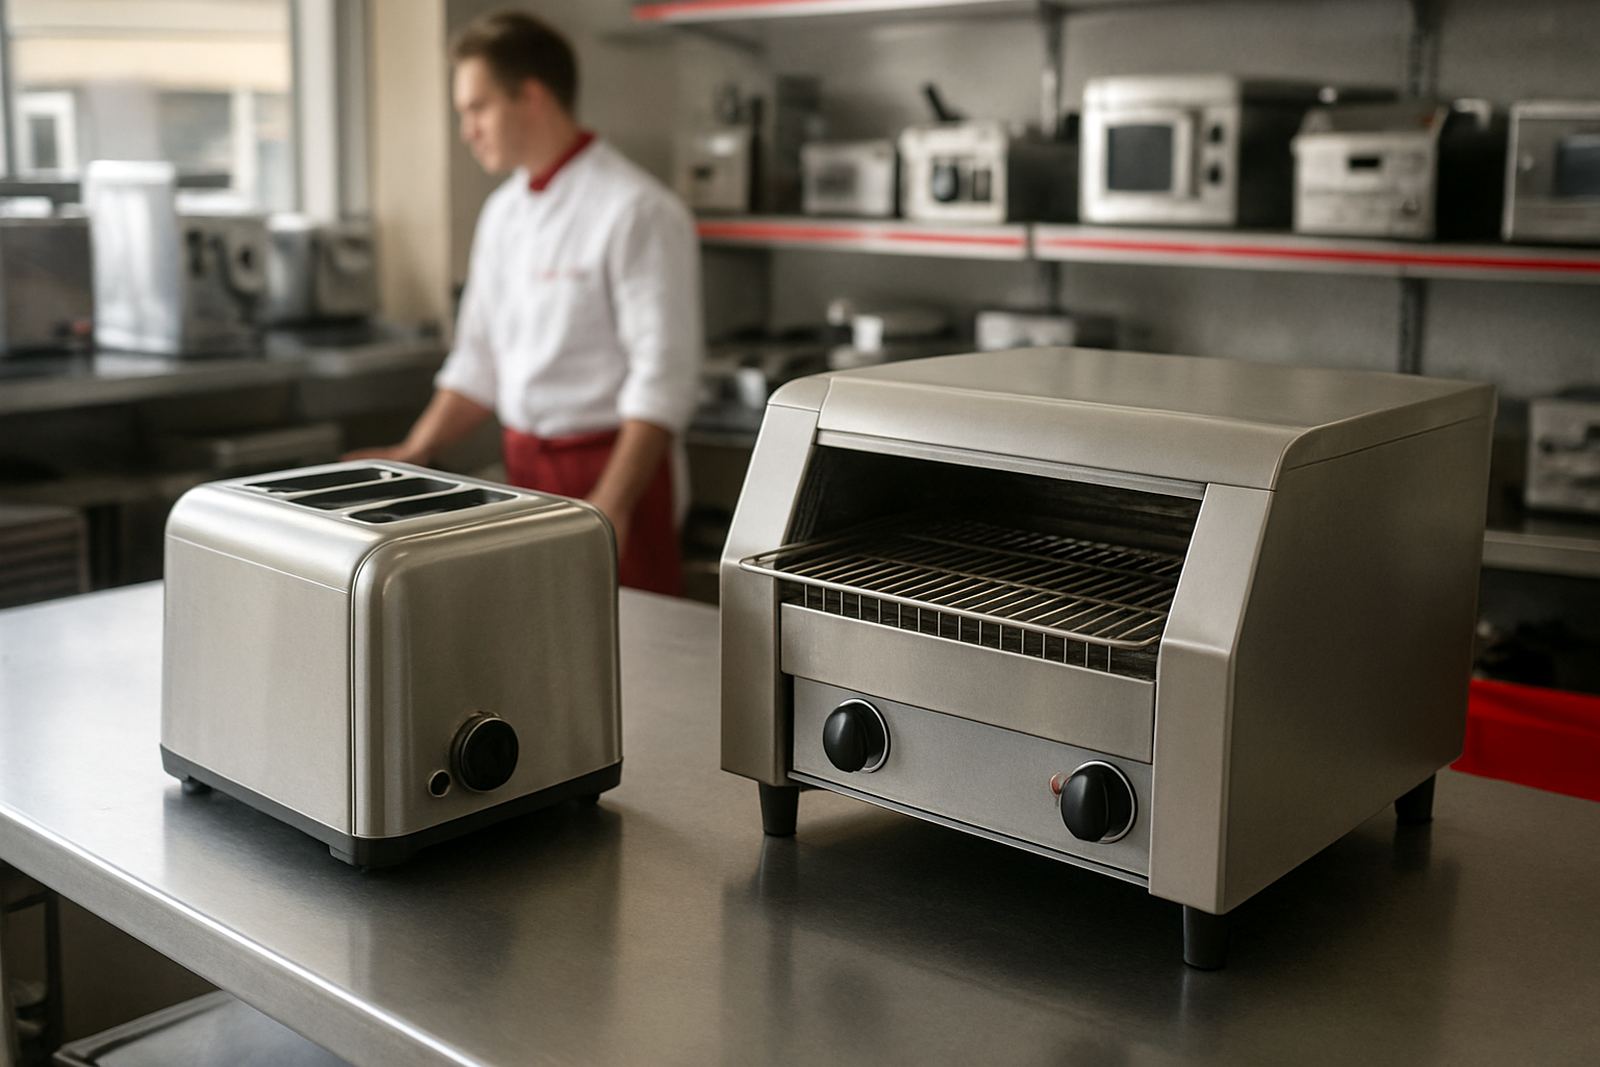
Before installation, confirm exactly what each item needs. A toaster may only need a standard power point, while a larger mixer or fryer may require a dedicated circuit, correct amperage and proper isolation. If the site already struggles during load-shedding, plan for how the equipment will be switched off safely and started up again without overloading the line.
For equipment that needs water or drainage, check pressure, valve positions and drain point locations. If gas is part of the setup, make sure the line is ready, tested and accessible. Never leave a new unit waiting for a missing plug point or a pipe that has to be changed on the day, it slows the whole handover.
- Have the electrician, plumber or gas installer ready before delivery if needed.
- Label switchboards, valves and isolation points clearly.
- Test sockets and breakers ahead of time.
- Keep extension leads as a temporary measure only, not a final setup.
Assign staff and clear the handover plan
The installation goes better when the right people are on site. Nominate one contact person who can make decisions quickly, unlock doors and confirm where each item must go. If your kitchen team is busy with prep or service, set aside a small group to help with placement, unpacking and first checks.
Staff should also know what to expect on the day. Tell them which areas will be blocked off, when deliveries will arrive and who is responsible for moving stock. If the site is in Centurion, Boksburg or Kempton Park where deliveries often land in tight time slots, a clear handover plan saves a lot of standing around.
- Appoint one site contact with authority to sign off the job.
- Brief kitchen staff on timing, noise and access changes.
- Keep the person who ordered the equipment available by phone.
- Have cleaning cloths, bins and basic tools ready for final checks.
Prepare the layout for safe positioning and workflow
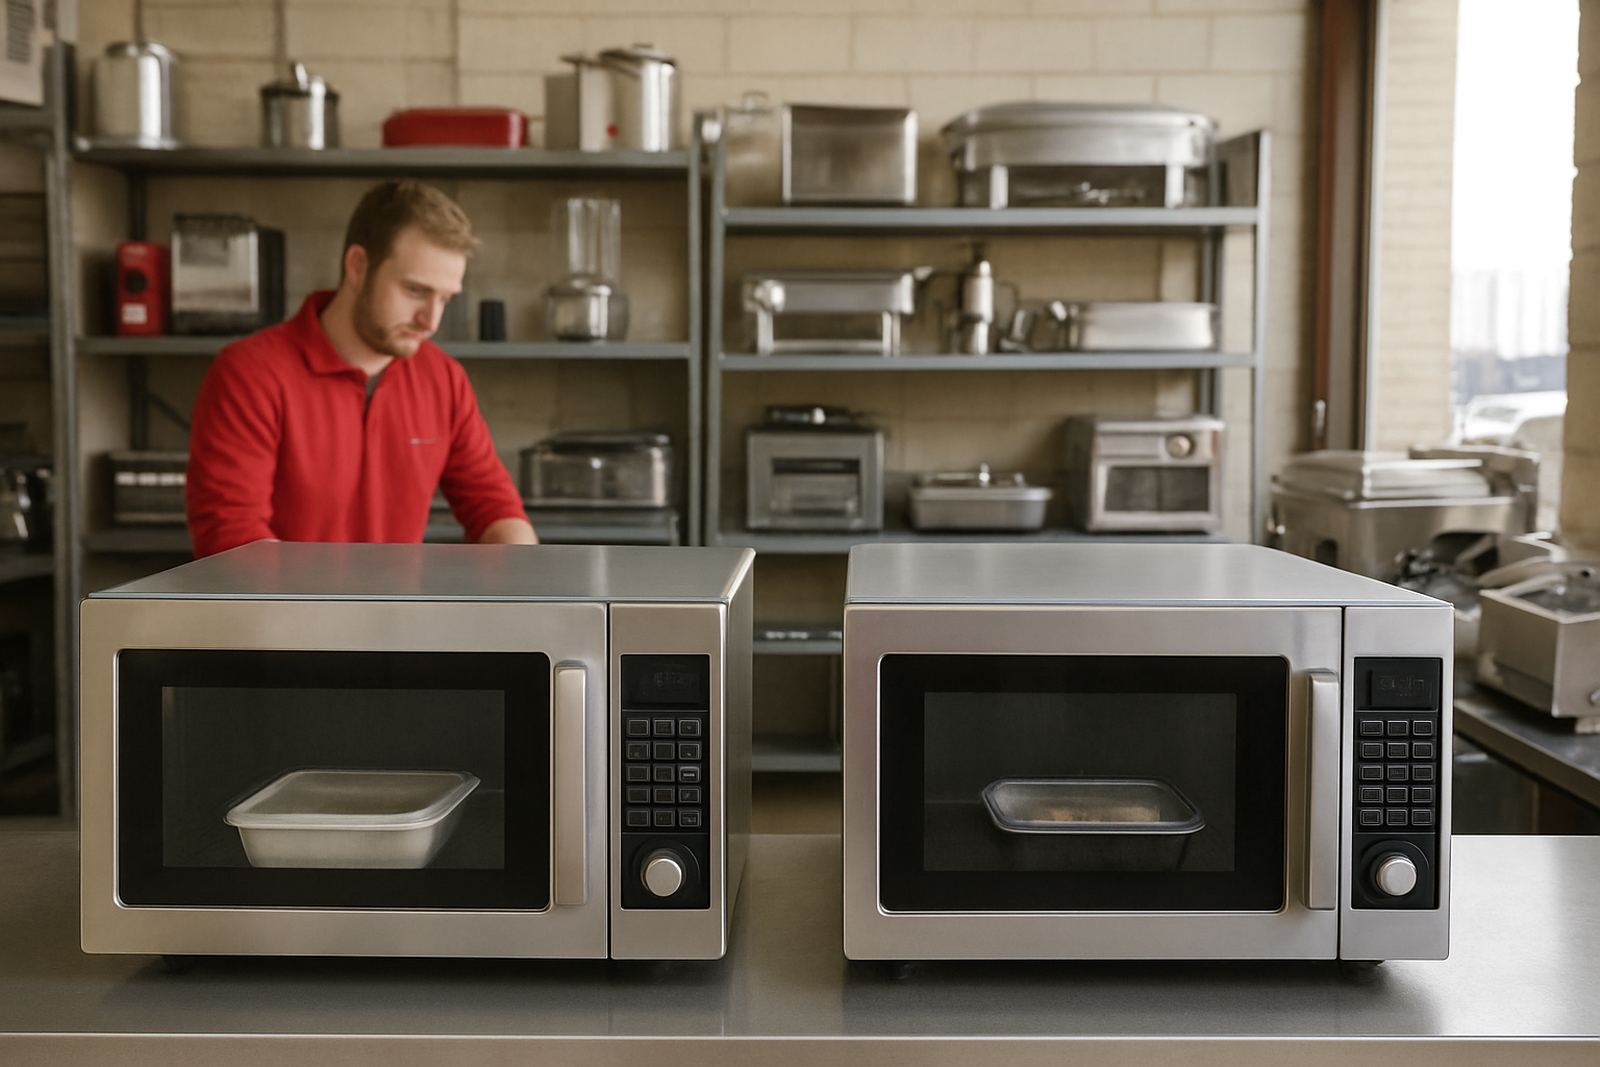
Think beyond where the machine fits. Consider how staff will move from storage to prep to cooking to service. A fryer placed too close to a doorway can slow the line, while a microwave or toaster set too far from the serving point can create extra steps and spills. Good positioning helps the kitchen run better every day, not just on install day.
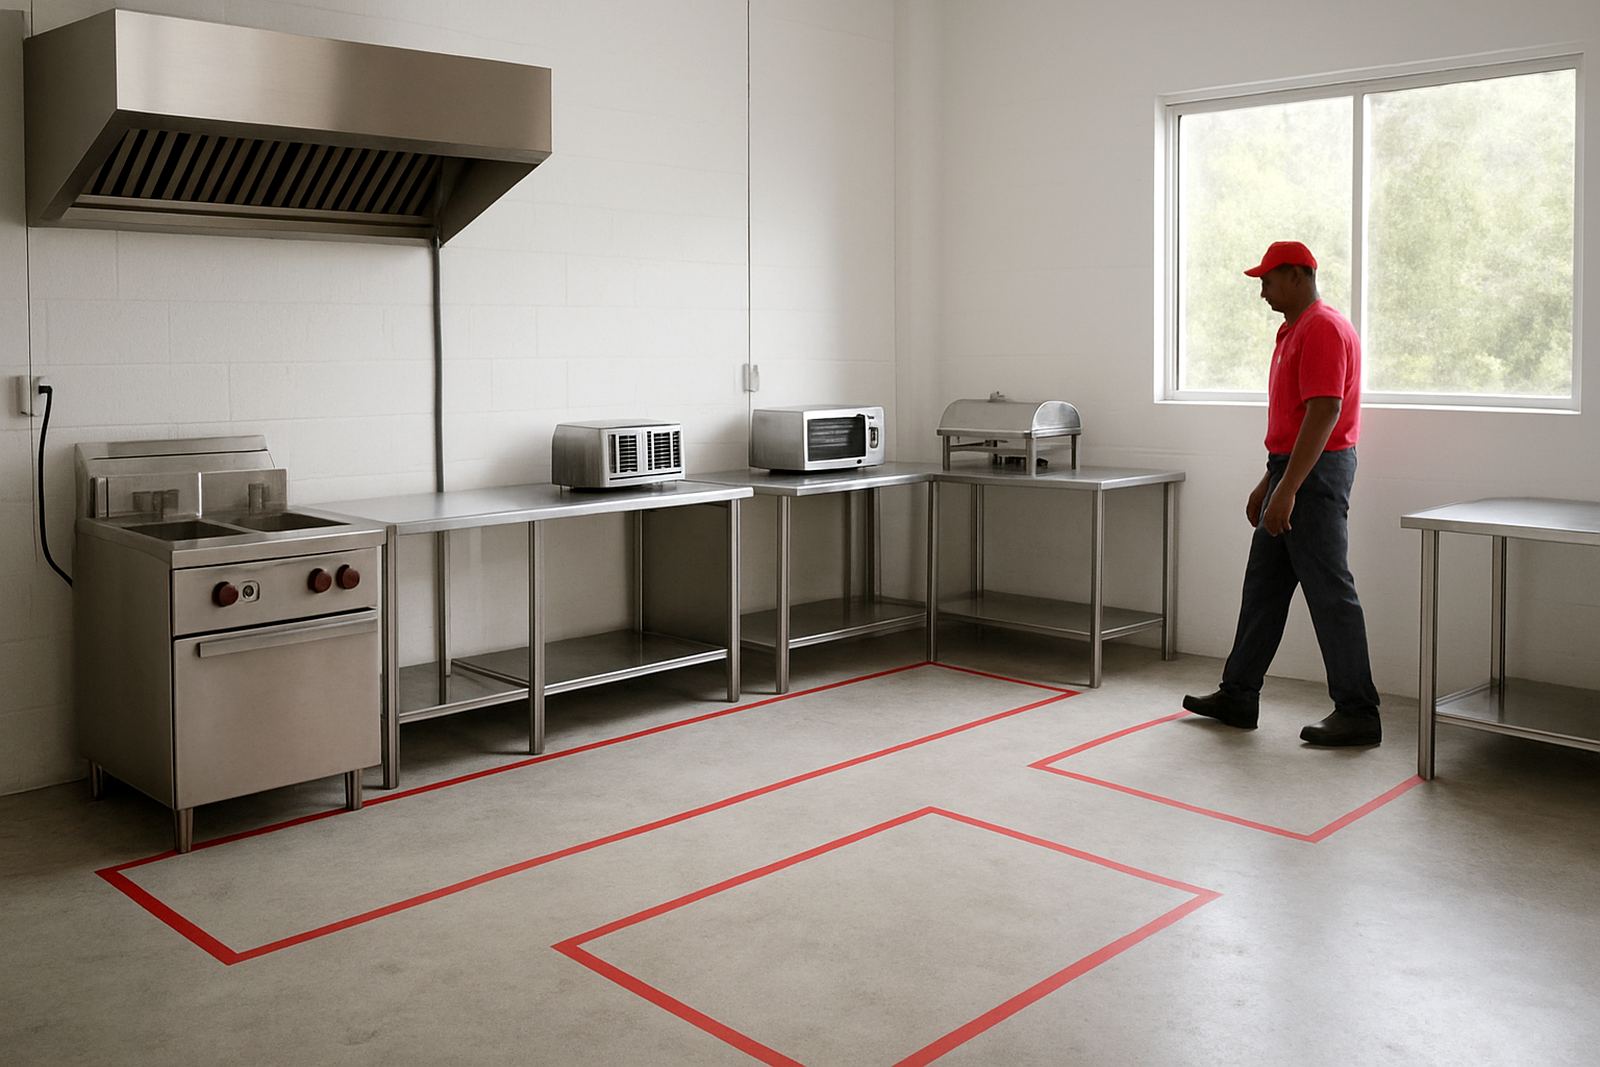
Leave safe working clearances around hot equipment, moving parts and doors that open outward. If the kitchen is being reconfigured, mark the final positions on the floor before the team arrives. That way there is less shifting around once the unit is unpacked. It also helps when used equipment is being brought in, because older items can vary slightly in size or footprint.
- Mark final positions with tape or chalk.
- Keep working aisles open for staff movement.
- Check that doors, lids and trays can open fully.
- Allow enough space for cleaning and servicing later.
Use a practical delivery day checklist
The final day should be calm and predictable. Have the invoice, site contact details, and any required sign-off documents on hand. Make sure the path from the delivery point to the kitchen is open, the utilities are live and the area is clean enough for unpacking. If something is missing, flag it early so it can be handled before the team leaves.
After positioning, check that the unit is level, secure and connected correctly. Test each function, listen for unusual noise and confirm that all controls are easy to reach. If training is included, gather the people who will use the equipment every day, not just one supervisor. A short walk-through now helps prevent misuse later, and saves on call-outs too.
- Keep documents, contacts and keys in one place.
- Check power, water, gas and drainage before unpacking.
- Test operation with the people who will actually use the unit.
- Record any issues immediately for follow-up.